I’m fortunate to live in Brooklyn with the city just a 20 min train ride away so when it comes to locations for shooting, there is never a shortage. With that being said, it’s hard to take pictures when there are so many people around! It may come as a surprise and I know I’ve read other bloggers say the same, but my least favorite part of the blogging process is actually taking the pictures. I love putting the looks together, finding locations to shoot, and especially when I’m putting the whole post together. Yet, standing in front of the camera having to pose is something that I really don’t like doing! Also, I will be the first to admit, models jobs are much harder than it may seem. I always thought you just stand there and strict a pose, what’s so hard about that..? Well, I was very, very, VERY wrong. The wind never works, getting the “right” angle is so much harder than I thought, and everyone around you stares! Which I must say, I’m not as shy about it anymore, but it definitely took some time for me to get used to it. So when it came time to really start looking for new places to take pictures it became quite a process. So here are my tips that I believe can help you get started.
You have to find a location that goes with your look.
You want to make sure focal point of every picture is you and your outfit. You don’t want your reader’s eyes to look at the background and be more focused on that. This is why it’s important to make sure that if you want a busy background, adding the blur effect can be a great tool here.
Let’s take this image for example: 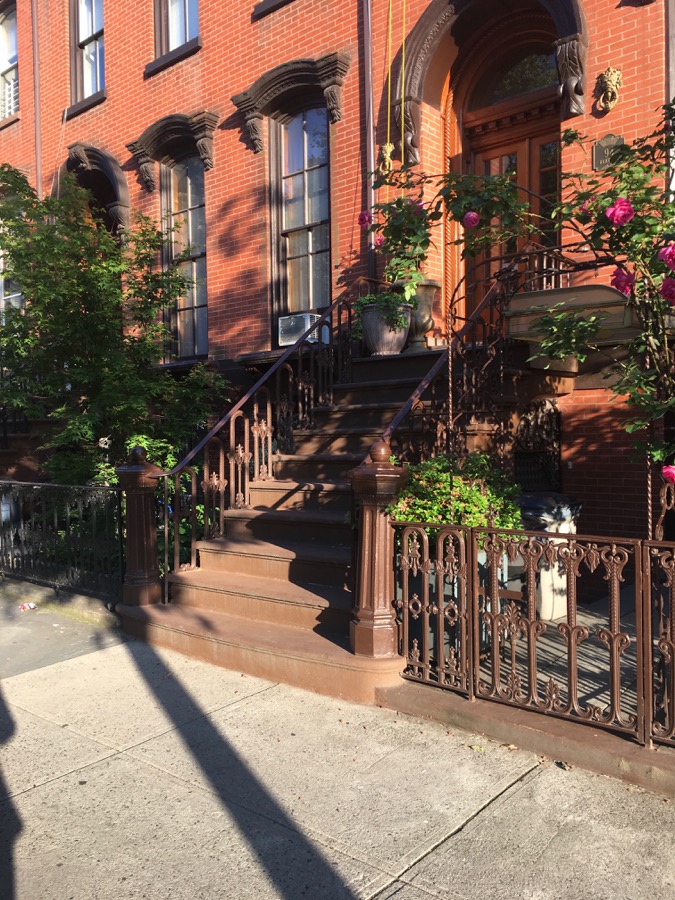
It’s a beautiful brownstone and the flowers are amazing but if you were to stand in front of this background you may get slightly lost in the picture. That’s why I would say something like this is better.
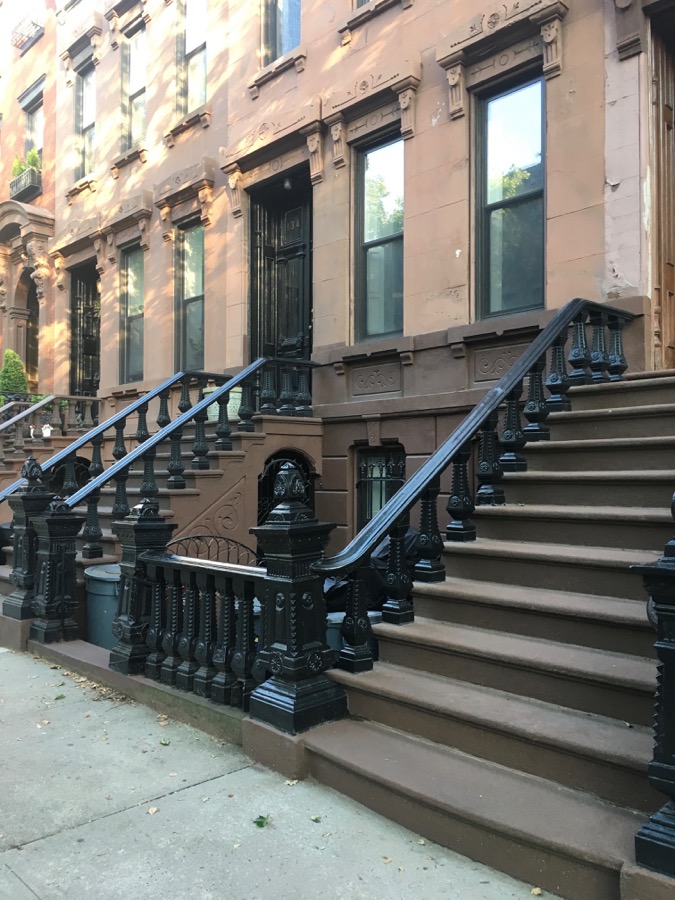
It’s an overall more neutral toned backdrop and would bring more focus to you as opposed to the houses in the back.
So this goes into my next point.
Sometimes less, is better.
As time went by I noticed my favorite places to shoot outfit looks is where the background is as simple as possible. A plain white or grey building are my go-to’s. I even go so far as to clean up the sidewalk and any blemishes I see within the picture on Photoshop just to make it really clean. However, this just may not be your style and you want colorful pictures which is more than okay! Sometimes I like to do that as well, I just use the blur tool as mentioned before.
[df_row][col-md-6] 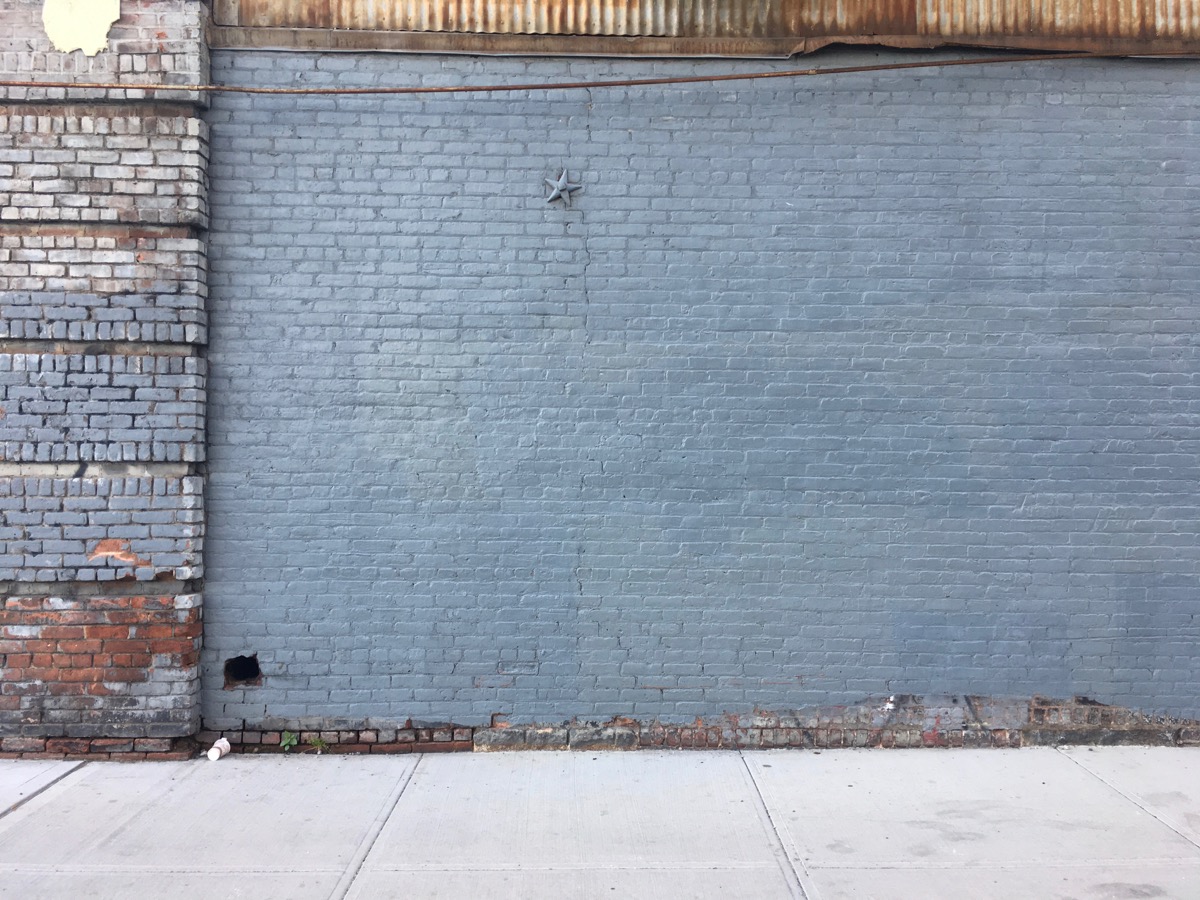 [/col-md-6][col-md-6_last]
  [/col-md-6_last][/df_row]
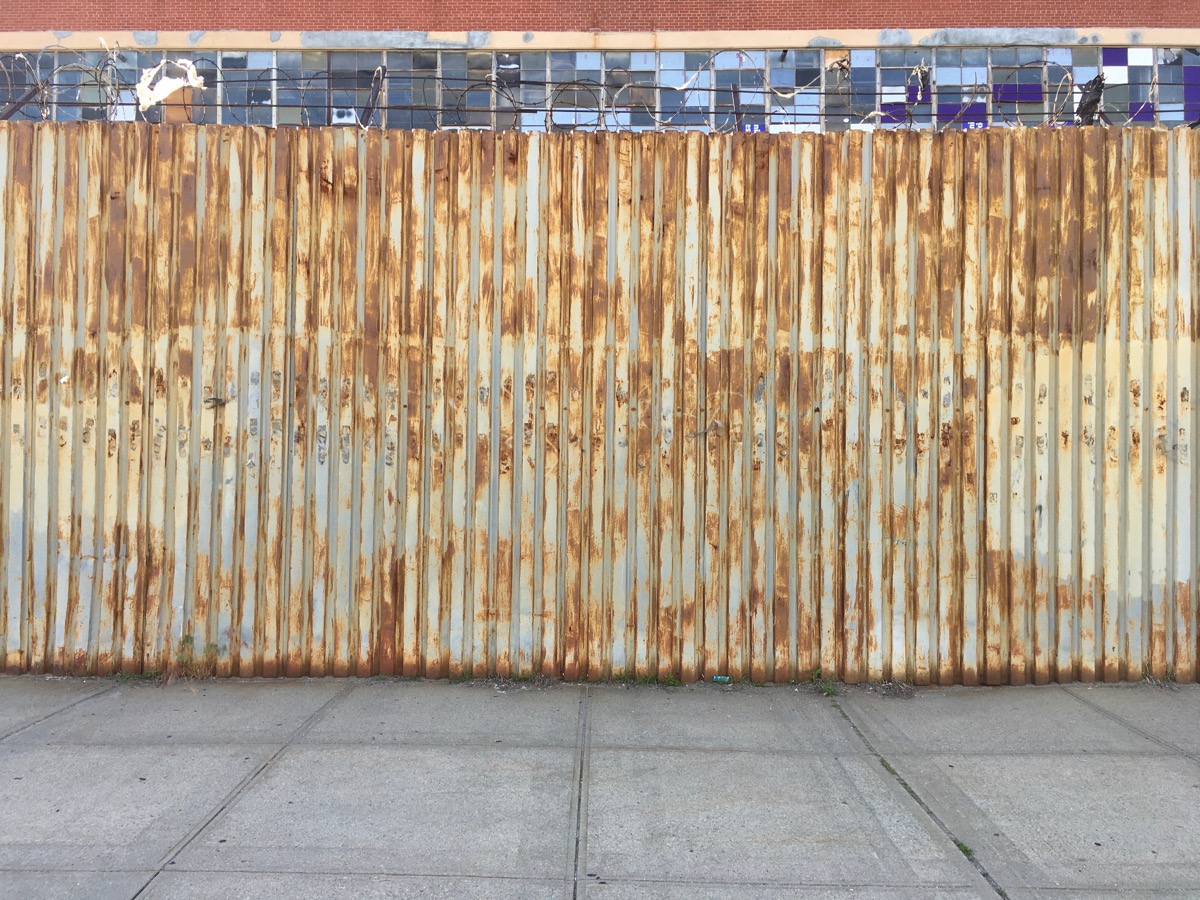
These two backdrops, you may notice from previous posts, are actually some of my favorite to shoot. I love that the background adds something but it is still simple enough that I’m the focal point.
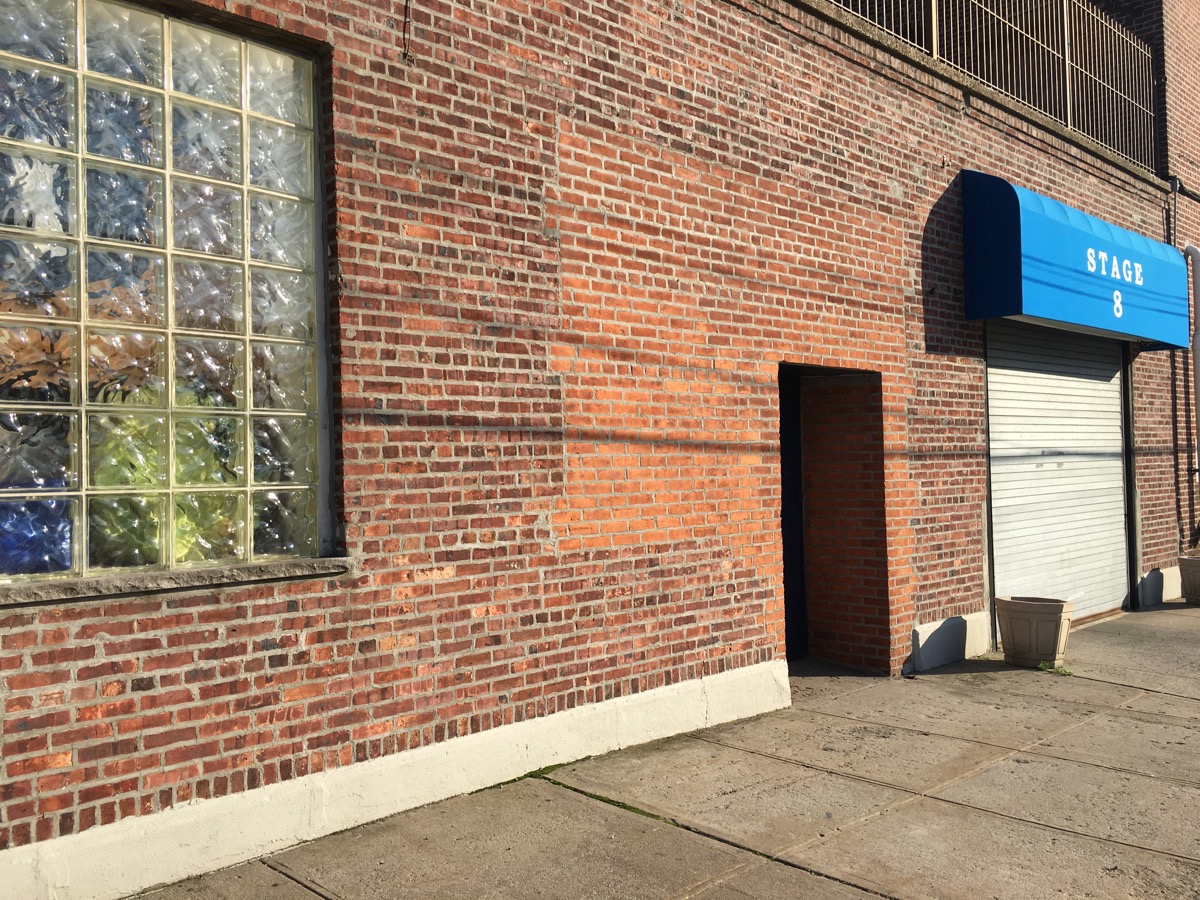
Think about the negative space as well as angles.
[df_row][col-md-6] 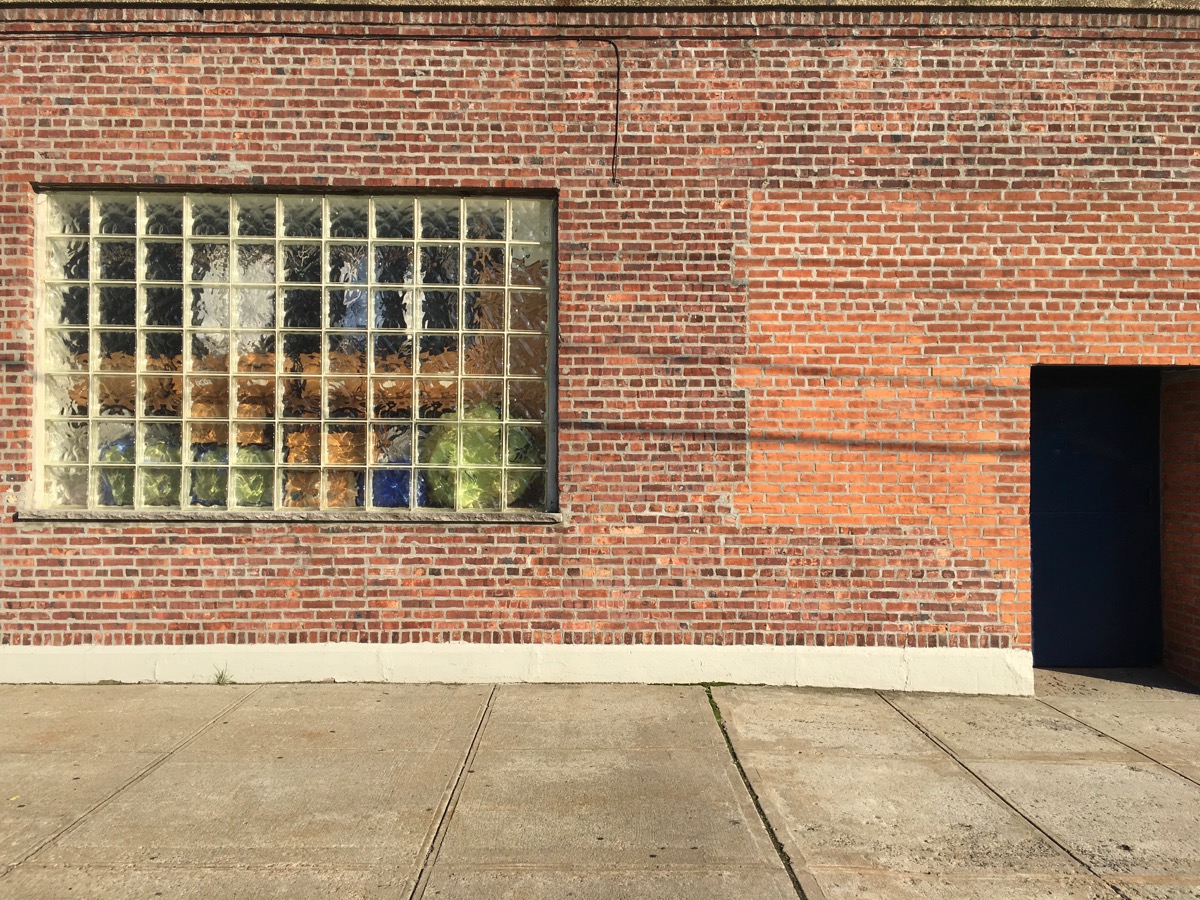 [/col-md-6][col-md-6_last]
  [/col-md-6_last][/df_row]
As you can see in this picture the space between the window pane and the door would be a perfect spot for you to pose. The same for the picture on the right, you can use the side angle photo in different ways to make the image come alive.
Lighting is your best friend.
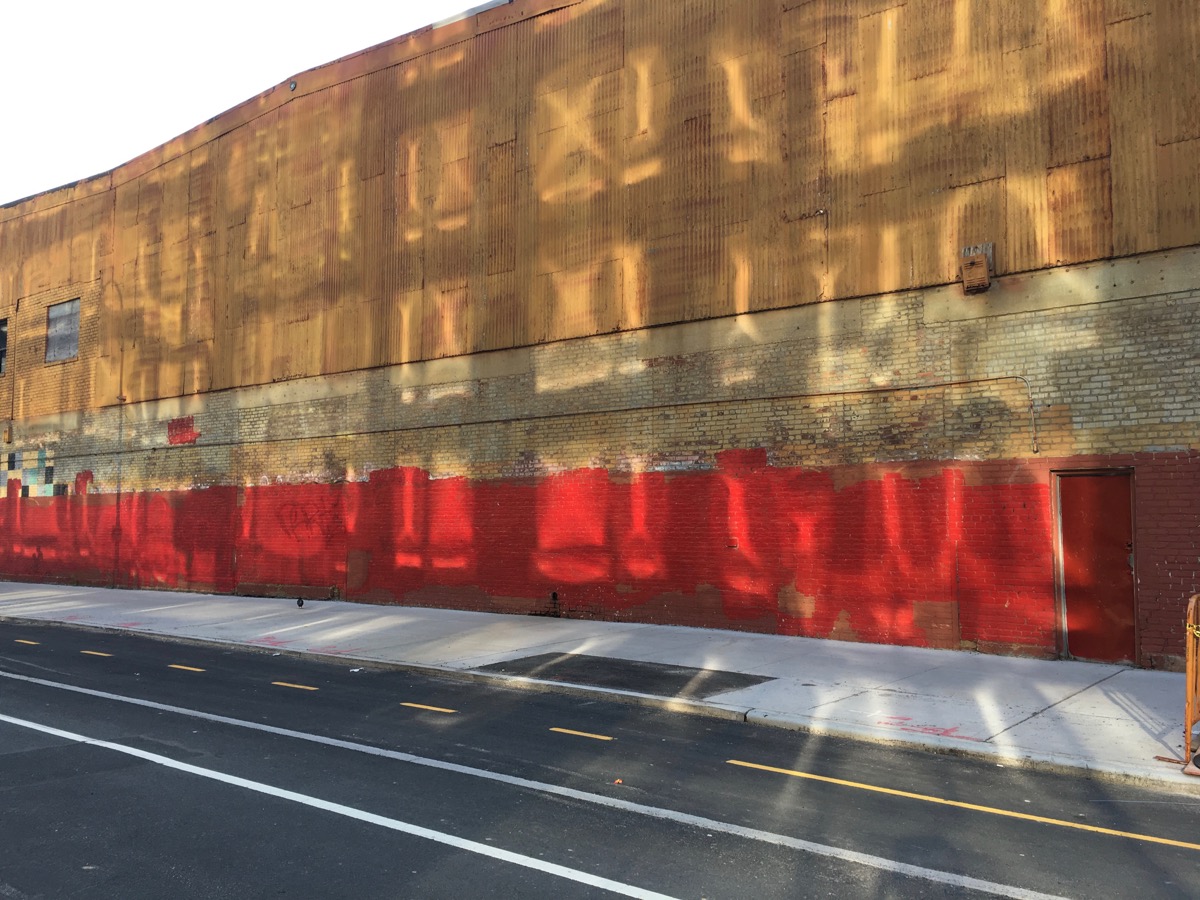
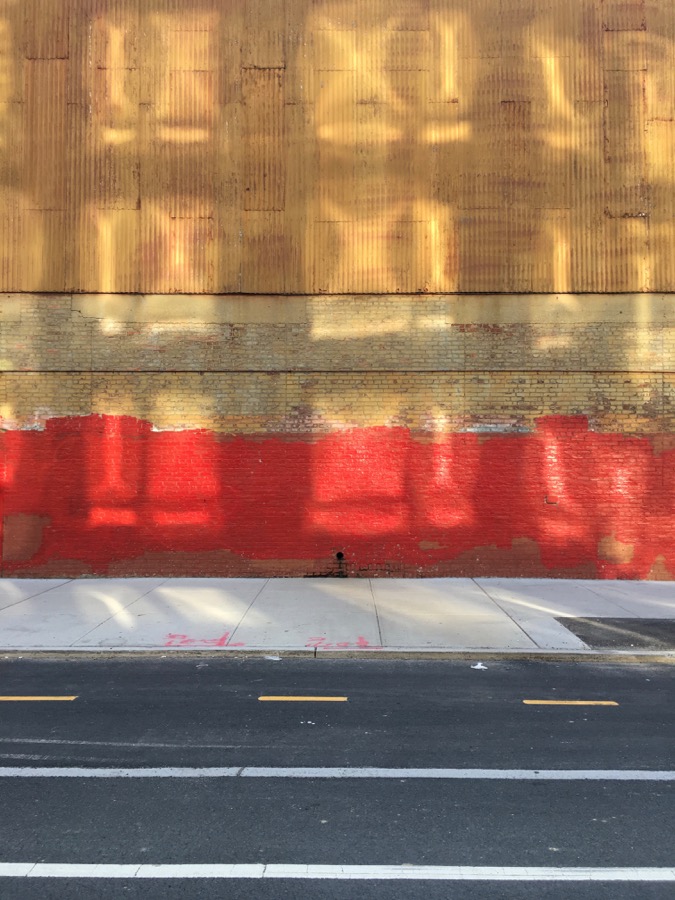
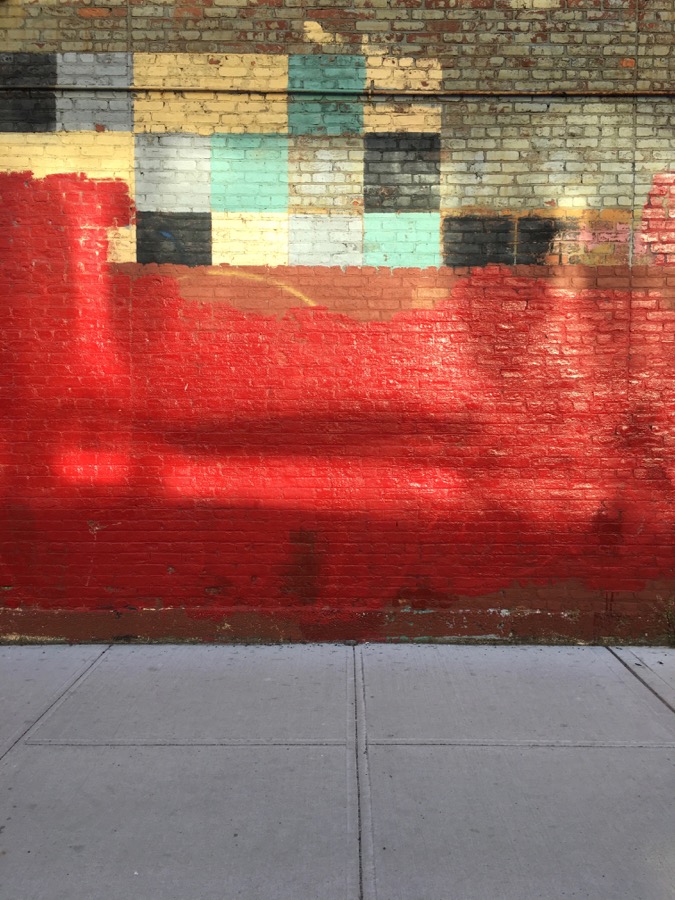
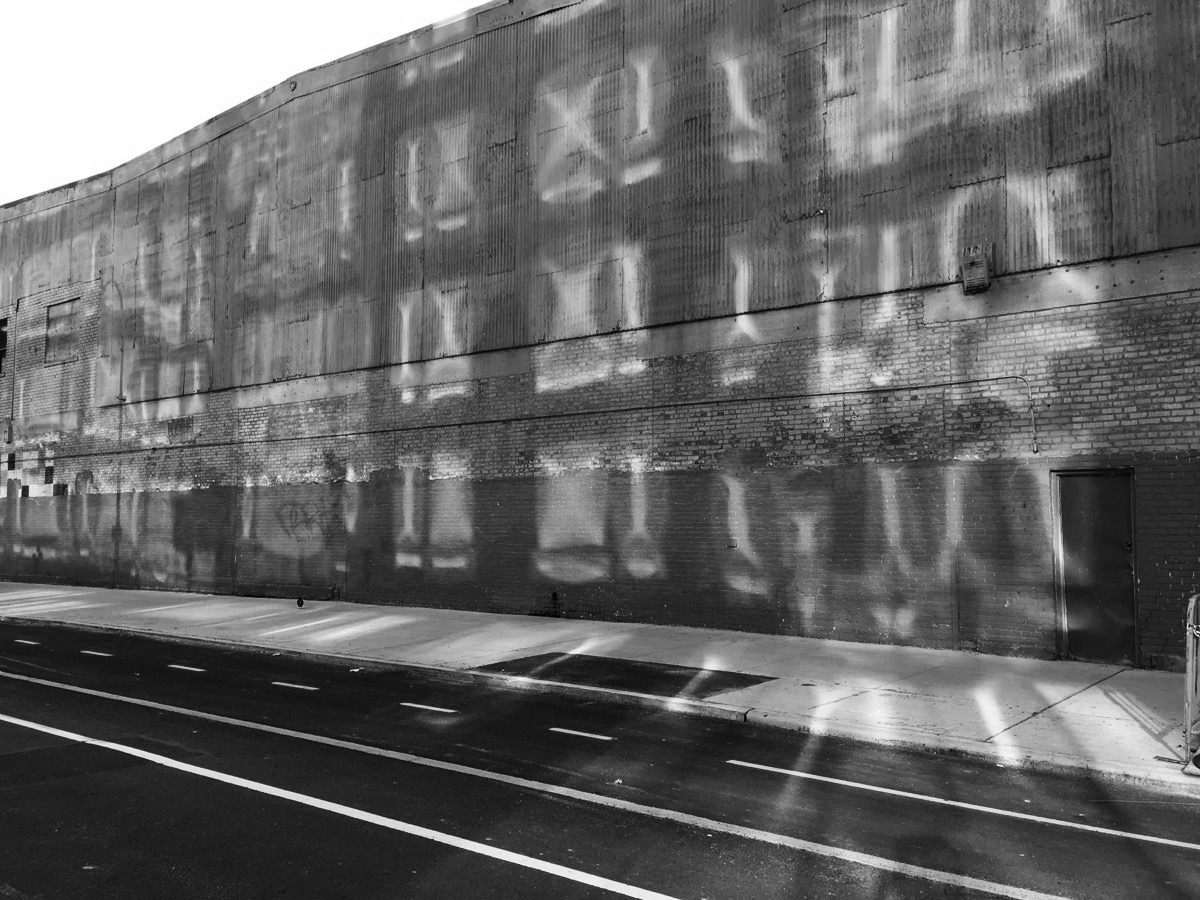
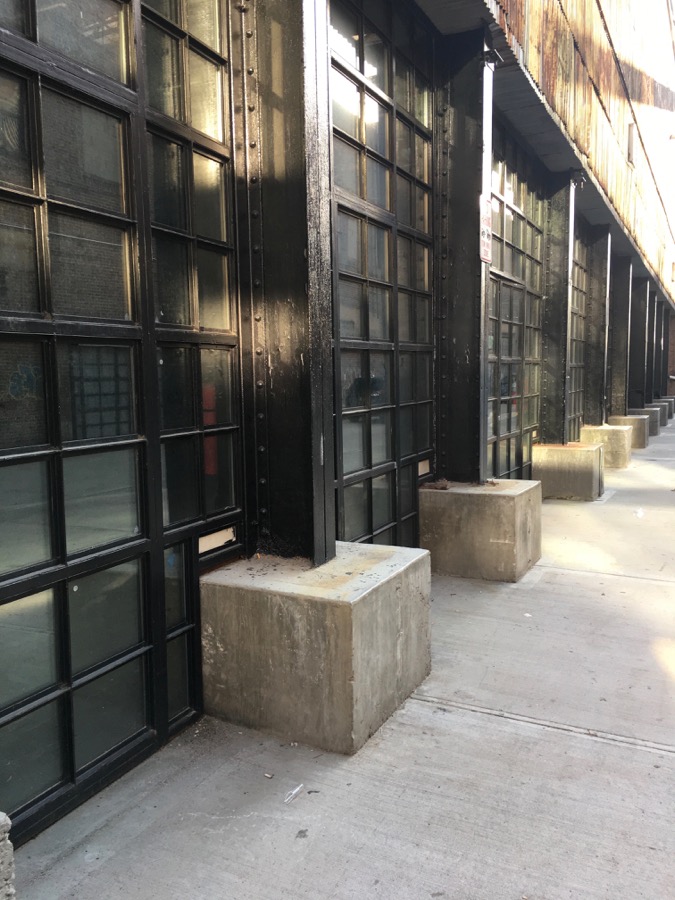
This spot is probably my favorite to show you. I loved the shapes that reflected off the windows from the building across the street. It gave it such a cool effect and added so much to the picture. This is something that needs to be planned ahead of time, I know that the reflections really come out during the afternoon around 5pm. If I was to take the photos earlier I would not get this effect. The same goes for this area as well.
[df_row][col-md-6] 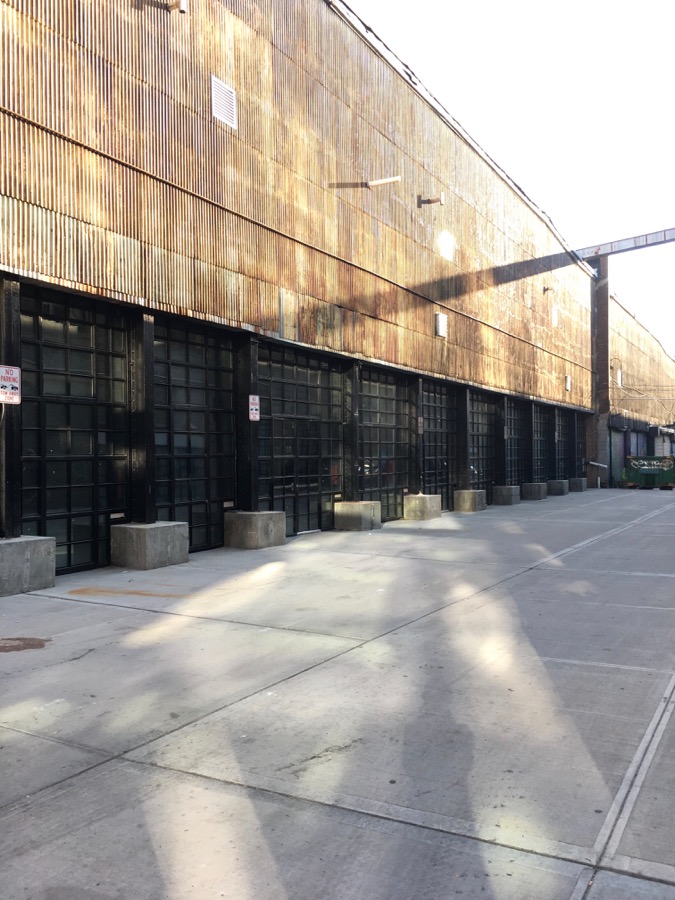 [/col-md-6][col-md-6_last]
  [/col-md-6_last][/df_row]
This is a great spot for standing as well as sitting shots. I love the neutral colors, it makes it great for any color look you’re featuring.
I really hope this post was helpful for you guys! As I mentioned before, in no way do I think I am a professional. I really just wanted to share what I’ve picked up since I’ve started my blog! I always take any advice and help that I can get in order to learn as much as possible so hopefully you can take something from this post as well.


